Seoul Public Bicycle Ttareungi Rental Guide: Local Tips

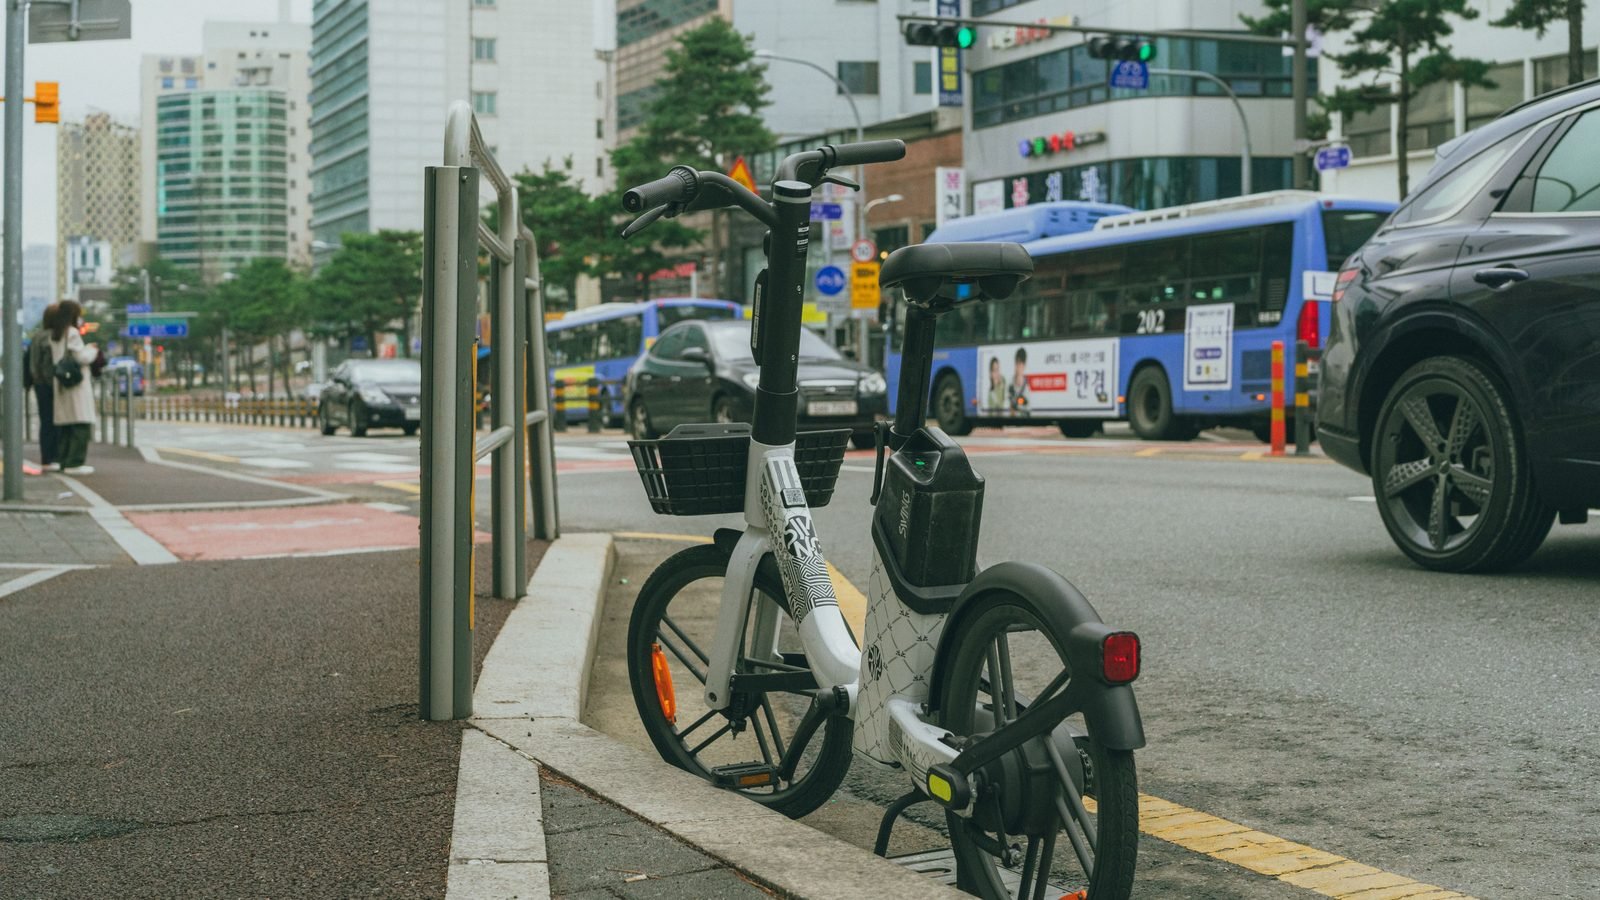
You see them at every major intersection in Seoul: rows of bright green and white bicycles parked in neat metal racks. These are Ttareungi, the city’s official public bike share system, and they are the best way to bridge the gap between subway stations or spend a sunny afternoon cruising along the water. The name comes from the ‘ttareung-ttareung’ sound a traditional bicycle bell makes, and for locals, they are as much a part of the city as the subway itself.
This Seoul Public Bicycle Ttareungi Rental Guide is designed to help you navigate the system as a visitor without a local phone number. I will walk you through downloading the app, purchasing your first pass for as little as ₩1,000 (about $0.75), and finding the best paths along the Han River. Whether you are commuting through the skyscrapers of Gangnam or exploring the quiet alleys of Yeonnam-dong, these bikes offer a freedom that buses and trains simply cannot match.
Getting Started with the Seoul Public Bicycle Ttareungi Rental Guide
The Ttareungi system is massive, with about 2,800 docking stations and 45,000 bikes scattered across every district of the city. The bikes are bright green. You will find them outside almost every subway exit and near most major bus stops. Because the city is so dense, you are rarely more than a five-minute walk from a docking station. The system was designed to solve the ‘last mile’ problem for commuters, but it has evolved into a primary leisure activity for residents. There are two main types of bikes: the standard ‘New Ttareungi’ with 24-inch wheels and a smaller version with 20-inch wheels, often called ‘Saessak Ttareungi,’ which is lighter and easier for shorter riders to handle.
To start, you need to look for the ‘Seoul Public Bike’ app in the App Store or Google Play. It is the one with the green bicycle icon. While the app has improved significantly over the years, it can still be a bit finicky for international users. The key is to look for the ‘Foreigner’ or ‘Guest’ option on the home screen. This allows you to bypass the complicated identity verification process that residents have to go through using their local ID numbers. You can use the system without a permanent account, which is perfect for a short trip. The app works well. It shows a real-time map of every station in the city, indicating exactly how many bikes are available at each spot. I always check the map before walking to a station, as popular spots like Yeouinaru can empty out quickly on weekend afternoons. If a station is full when you try to return a bike, don’t worry; the system allows you to park next to the rack as long as the lock is engaged, but it is always better to find an open slot if possible.
From a local: The Bell Sound
The name Ttareungi is onomatopoeia for a bike bell. If you need to alert pedestrians, the bell is usually a twist-ring style on the right handlebar.
How to Set Up the App as a Foreigner
Setting up the app is the hurdle that stops most travelers, but it is straightforward if you know where to click. Open the app and select ‘Foreigner’ from the menu. You do not need to log in or create a profile. Instead, you will purchase a ‘Voucher.’ The app will ask for your email address, which is where they will send your rental confirmation and a recovery code if you get disconnected. For payment, you can use an international credit card (Visa, Mastercard, or JCB) or even a physical T-money card if your phone has NFC capabilities, though the credit card option is usually the most reliable for visitors. Our T-money card guide covers buying and topping one up.
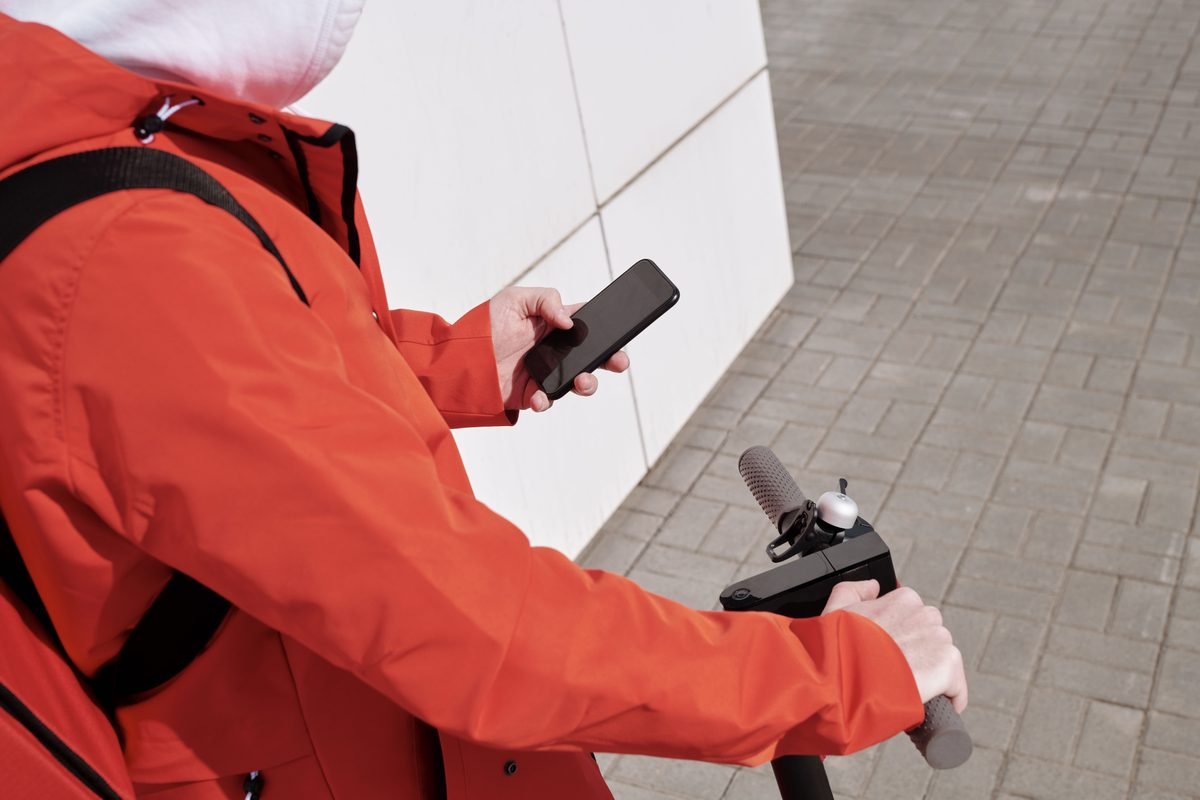
Once you select your voucher type—usually the 1-hour or 2-hour option—you will be redirected to a payment gateway. This part of the process often looks like a separate pop-up window. Make sure your browser allows pop-ups, or the payment might fail without an error message. It costs very little. A 1-hour pass is ₩1,000 (about $0.75), a 2-hour pass is ₩2,000 (about $1.50), and a 3-hour pass, added in November 2025 for people who kept having to dock and re-rent, is ₩3,000 (about $2.25). After the payment goes through, the app will show you a ‘Rent’ button. You are now ready to find a bike. The app uses Bluetooth to communicate with the bike’s lock, so ensure your Bluetooth is turned on before you approach the rack. If the app asks for location permissions, select ‘Always’ or ‘While Using the App,’ as it needs to verify you are actually at the station to unlock the bike. If you run into issues with the English interface, sometimes toggling the language back and forth in the settings menu refreshes the translation strings. I have found that using a physical T-money card as a registration method is a great backup. You can ‘register’ the card in the app once, and then you just tap the card on the bike’s sensor to unlock it for future rides without opening the app at all.
Book ahead: Buy Before You Arrive
Purchase your voucher while you have stable Wi-Fi at your hotel. The voucher is valid for 24 hours from purchase, but the timer only starts when you actually unlock the first bike.
Understanding Rental Passes and Pricing
The pricing for Ttareungi is incredibly player-friendly, but there is one rule that confuses everyone. When you buy a ‘1-day pass’ for ₩1,000 (about $0.75), it does not mean you can keep the bike for 24 hours straight. It means you have unlimited 1-hour rentals for a 24-hour period. You must return the bike to any station within 60 minutes. Once you lock it, the rental ends. You can then immediately unlock the same bike (or a different one) and start another 60-minute session. This continues until your 24-hour voucher expires. If you go over the 60-minute limit, you will be charged an additional ₩200 (about $0.15) for every 5 minutes. These overage fees are automatically charged to the card you used for the initial purchase.
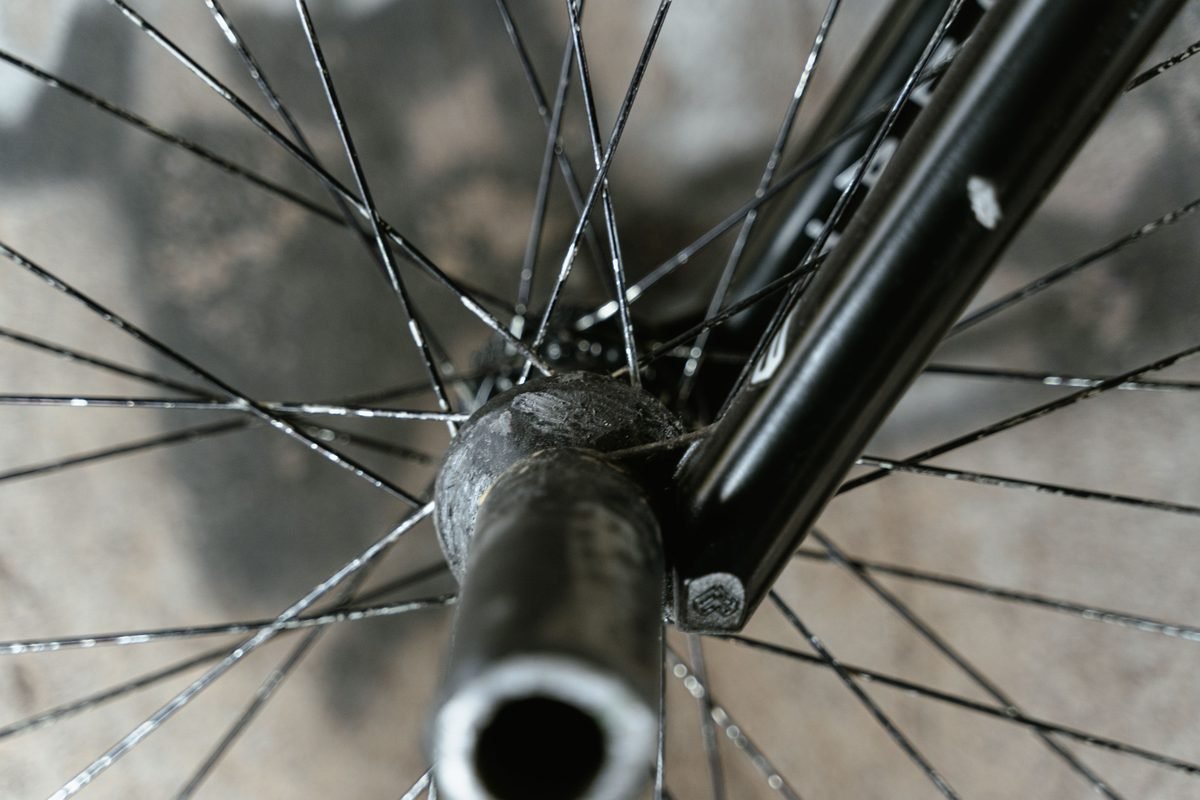
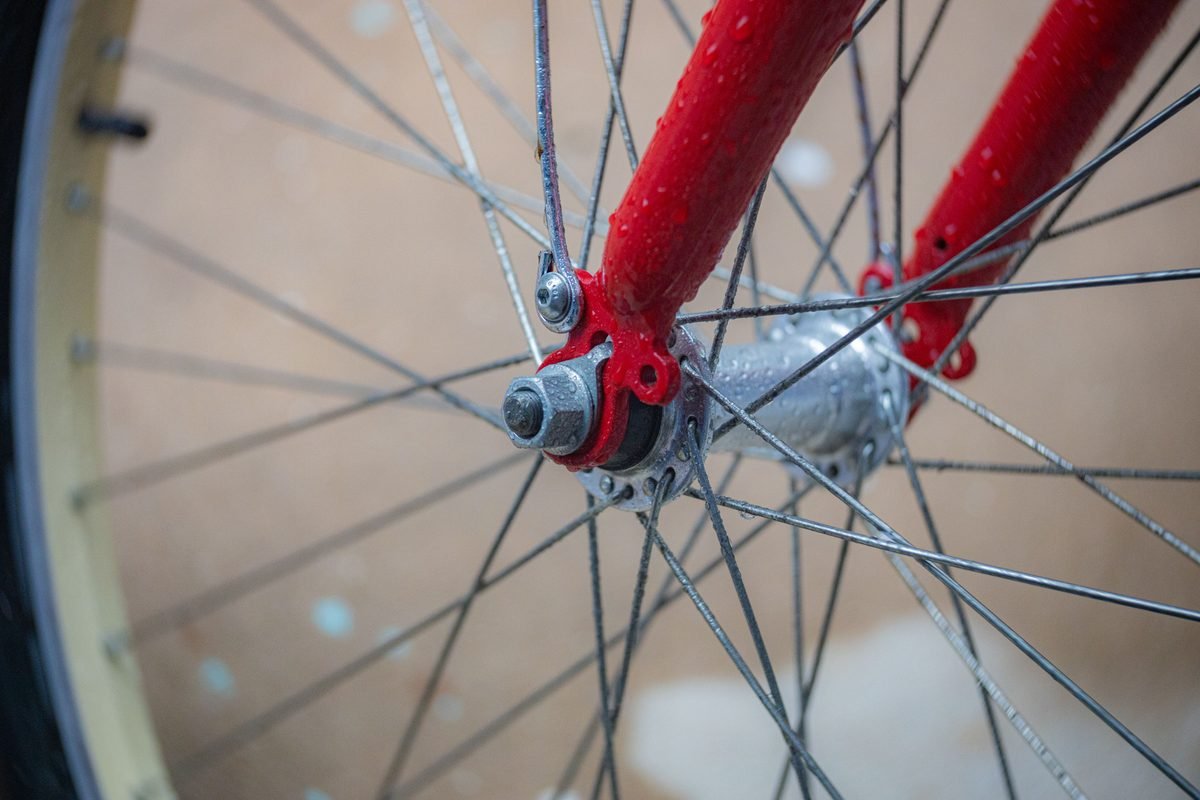
For most travelers, I recommend the 2-hour pass for ₩2,000 (about $1.50). This gives you much more breathing room, especially if you are riding along the Han River where stations can be spaced further apart. If you are staying in Seoul for a week, there is a 7-day pass at ₩3,000 (about $2.25) for 1-hour sessions or ₩4,000 (about $3) for 2-hour sessions. Be aware that it is sold as a membership pass, not a one-off voucher, so you would have to register a full account rather than buying it from the ‘Foreigner’ screen. For a short visit the day passes stay the simpler option, and the 3-hour pass covers most river rides on its own. Check the tires first. Before you unlock a bike, give the tires a quick squeeze and pull the brake levers. Since these bikes are used heavily, some might have loose chains or soft tires. If you unlock a bike and realize it has a mechanical issue, you can return it within one minute at the same station without it counting as a rental or costing you any extra. The system is designed to be flexible, but it relies on users reporting broken bikes via the app. Look for bikes with the ‘QR’ lock under the seat; these are the newest models and are much easier to use than the older LCD-screen versions which are slowly being phased out.
Heads up: Overage Fees
If you keep a bike for more than 4 hours without returning it to a station, it will be reported as stolen. Always dock the bike to reset your timer.
Riding the Han River Bike Paths
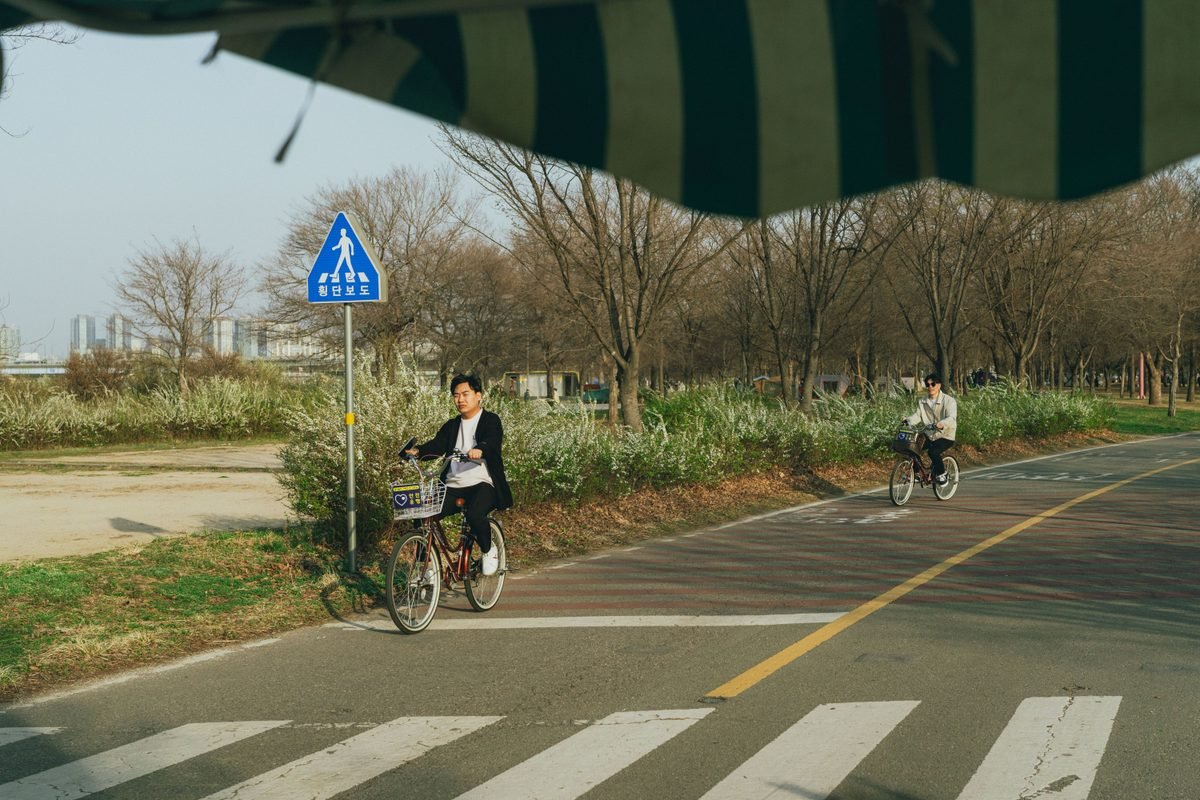
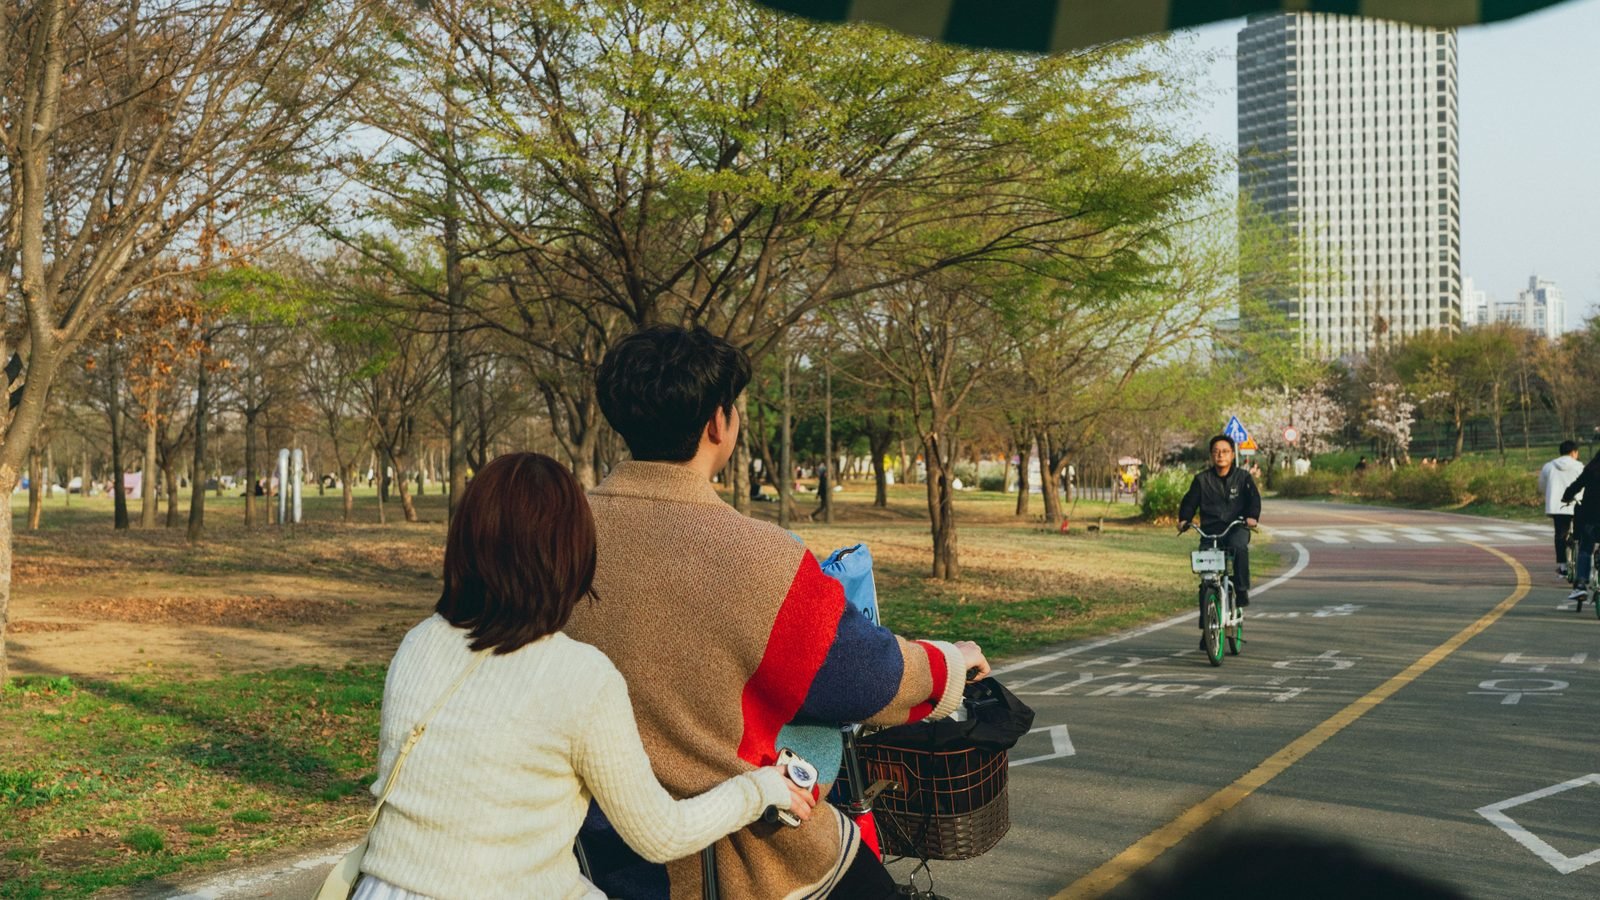
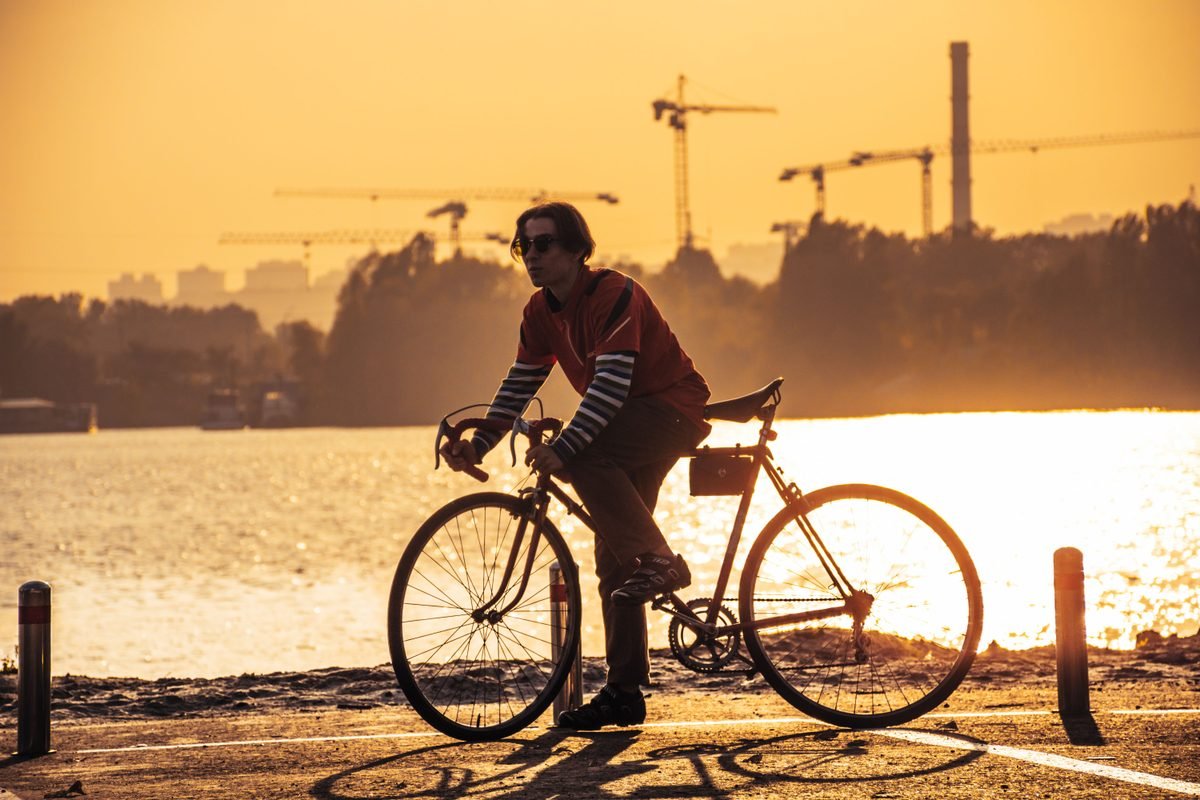
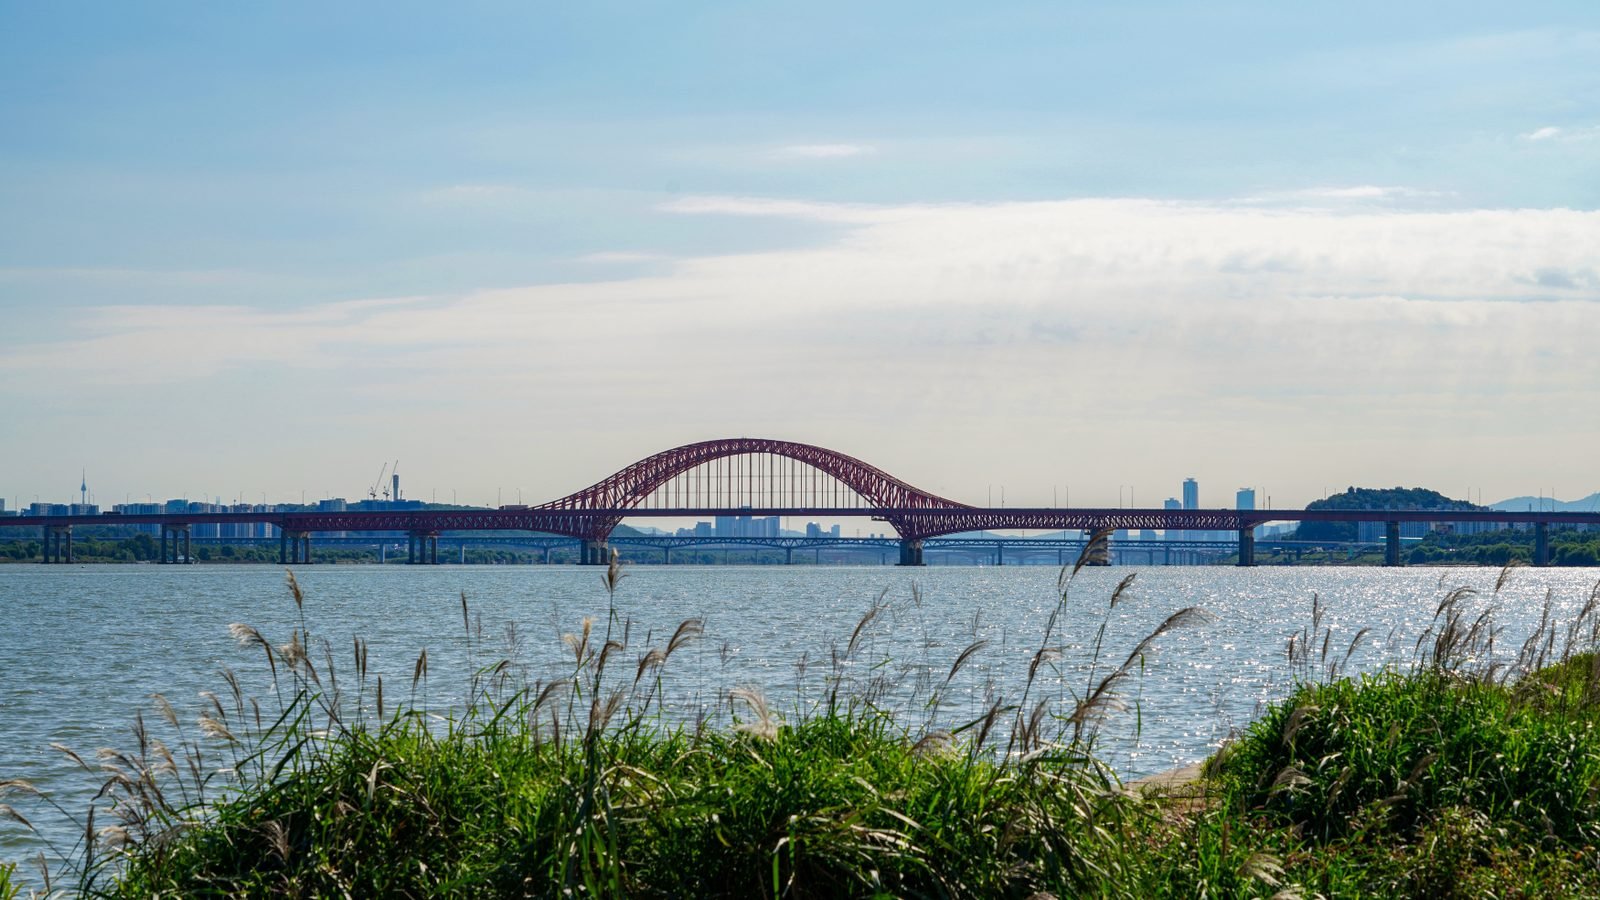
The crown jewel of cycling in Seoul is the Han River. The city has built an incredible network of dedicated bike paths that run along both the north and south banks of the river. These paths are completely separated from car traffic, making them very safe and easy to navigate. One of my favorite routes is starting at Yeouido Hangang Park and riding east toward Banpo. You will pass under several massive bridges and see the city skyline from a completely different perspective. For more ideas on where to stop, check out my Seoul Han River Parks Guide. The paths are mostly flat, but they can get crowded on weekends with serious cyclists in spandex and families on tandem bikes. Always stay to the right. The left lane is for passing, and people will often use their bells or shout ‘passing on the left’ (jinagayo) as they go by.
Safety is important, especially at night. The Han River paths are well-lit, and the Ttareungi bikes have built-in dynamo lights that turn on automatically as you pedal. You don’t need to worry about batteries. If you get hungry, look for the ‘convenience store ramen’ stations at the park. You can buy a foil bowl of instant noodles, cook them on an automated machine, and sit by the river for a classic Seoul experience. Just remember that you cannot take the Ttareungi bikes into the actual convenience store. You must park them at a nearby station or use the ‘temporary lock’ feature in the app if you are just stepping away for a moment. To use the temporary lock, you pull the lever on the bike’s lock while you are away from a station, and then use the app to unlock it again when you return. However, I always recommend finding a proper station to end your rental whenever possible to avoid any potential issues with the Bluetooth connection or theft. The river breeze in October is perfect for riding, as the humidity has dropped and the autumn colors are starting to show on the trees lining the water.
Tip: Picnic Ready
Most Ttareungi bikes have a sturdy front basket. It is perfect for holding a small bag or a bottle of water while you ride.
Unlocking and Returning Your Bike
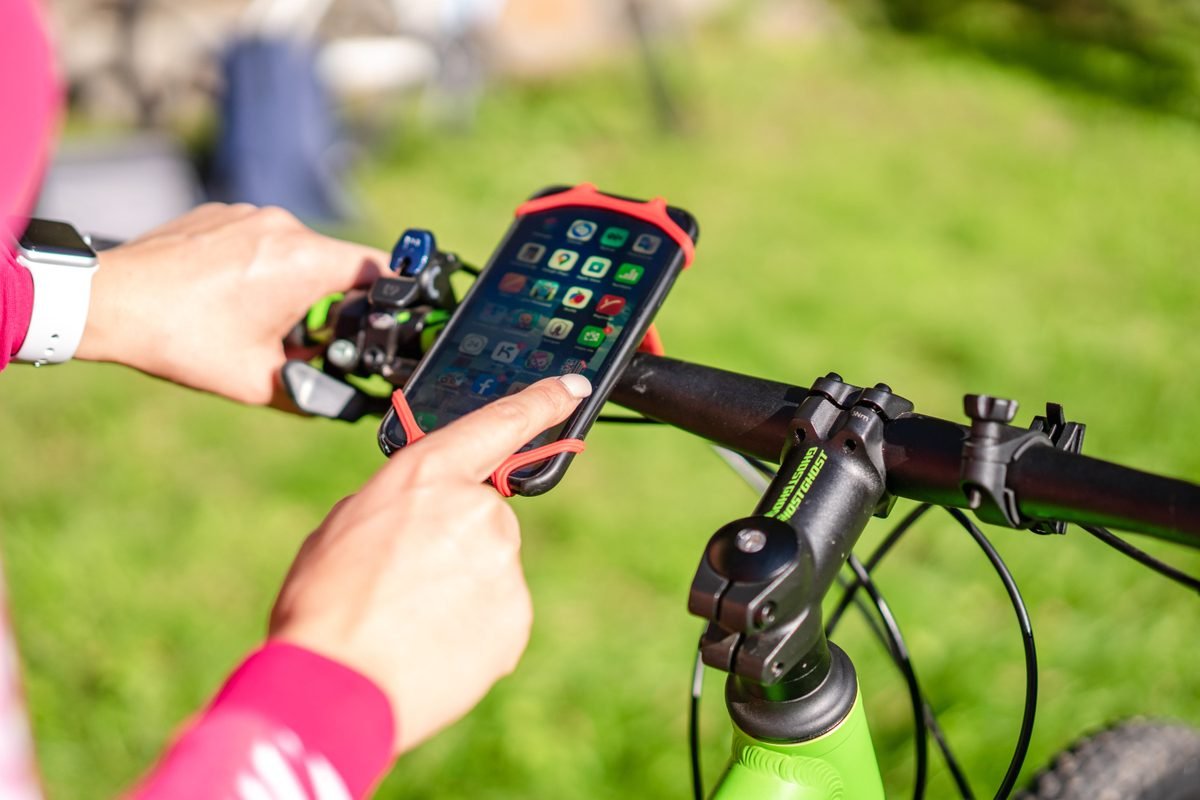
Once you have your voucher and have found a bike, the unlocking process takes about ten seconds. Open the app and tap the ‘Rent’ button. This will open a QR code scanner within the app. Point your camera at the QR code located under the bicycle seat or on the handlebars. The lock clicks open. You will hear a mechanical whirr and a voice prompt (in Korean, usually saying ‘rental started’). At this point, the timer on your app begins. If the lock doesn’t pop open immediately, give the bike a little shake; sometimes the locking pin gets caught on a spoke. The app will then change to a screen showing your remaining time and a ‘Return’ button. You do not need to keep the app open while you ride, but it is helpful to check it occasionally to see how much of your 60 or 120 minutes is left.
Returning the bike is even easier, but it is the most critical step to get right. You do not need to use the app to return the bike. Simply find an empty slot at any Ttareungi station and push the bike into the rack. Then, manually pull the locking lever down on the rear wheel. The bike will beep and announce that the return is complete. The lock clicks shut. Within a few seconds, you should receive a notification on your phone via KakaoTalk, SMS, or the app itself confirming the return. If you do not get this confirmation, the rental is still active and you will continue to be charged. I once saw a tourist walk away from a bike without waiting for the beep, only to realize an hour later that the lock hadn’t fully engaged. Always wait for that confirmation sound. If the station is full and there are no slots left, you can use the ‘auxiliary lock’ (the small cable attached to the bike) to tether your bike to another docked bike. However, with the newer QR bikes, you can simply park it within the station’s geofenced area and pull the lock lever; the GPS will recognize that you are at a station and end the session.
Safety Rules and Road Etiquette
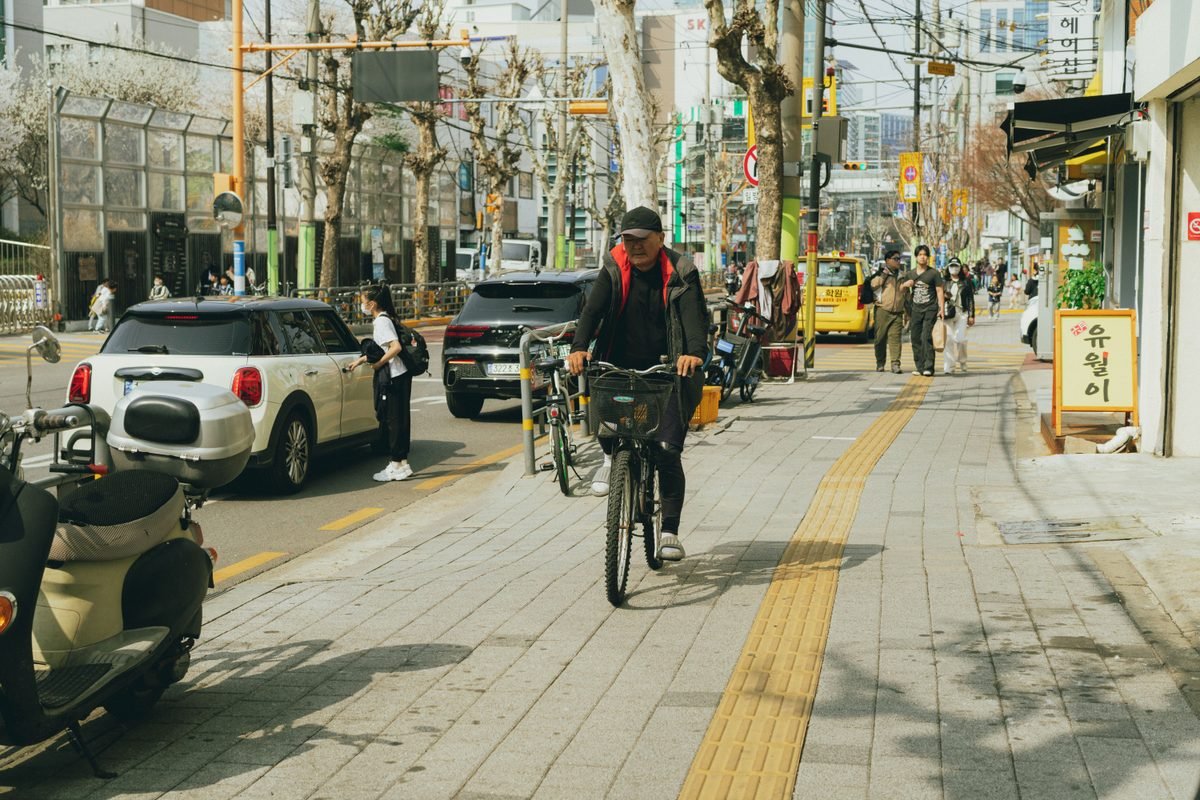
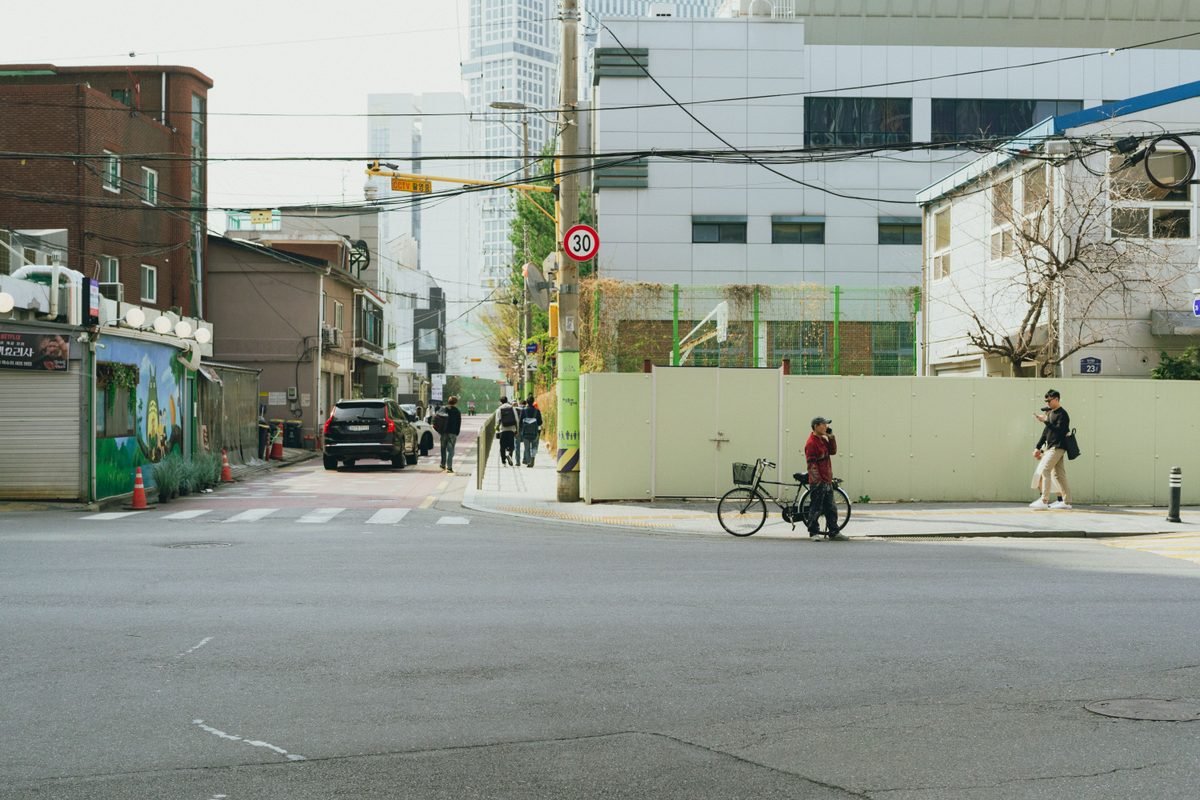
Seoul is generally a safe city for cyclists, but the infrastructure is still a work in progress once you leave the river paths. In many parts of the city, you will be riding on the sidewalk or in shared lanes with cars. Technically, bicycles are supposed to be on the road, but most locals feel safer on the sidewalk. If you are on the sidewalk, pedestrians always have the right of way. Always wear a helmet. While there is a law requiring helmets, it is currently not enforced with fines for adults, and you will notice that most Ttareungi users do not wear them. However, for your own safety, especially if you are not used to Seoul’s aggressive traffic, wearing one is a good idea. You can find helmets for sale at large discount stores like E-mart or specialized bike shops, though the Ttareungi stations themselves do not provide them.
Navigation can be tricky because Google Maps does not provide cycling or walking directions in South Korea. Instead, you should use Naver Map vs Kakao Map. Both apps have excellent cycling modes that will prioritize dedicated bike paths and avoid steep hills where possible. I personally prefer Naver Map for its ‘Bicycle’ tab, which even shows the location of Ttareungi stations directly on the map. Another important rule: do not drink and ride. Korea has strict laws regarding cycling under the influence, and the fines are real—₩30,000 (about $23) for riding with a blood alcohol level of 0.03 percent or higher, and ₩100,000 (about $75) if you refuse the breathalyzer. Also, avoid riding in busy pedestrian areas like Myeongdong or the middle of Insadong during peak hours. It is much faster and less stressful to walk your bike through these crowded zones. The app works well for finding the nearest station when you are ready to give up and head back to the subway. Most stations are located near crosswalks, making it easy to transition from riding to walking.
Heads up: Sidewalk Safety
If a sidewalk is not marked with a bicycle symbol, you are technically required to ride on the road. In reality, most people stay on the sidewalk, but be extremely cautious of people exiting shops.
Troubleshooting Common Ttareungi Issues
Even the best systems have glitches, and Ttareungi is no exception. The most common issue is the Bluetooth connection failing to unlock the bike. If this happens, try turning your phone’s Bluetooth off and back on again, or restart the app. If the QR code on the bike is scratched or faded, you can manually enter the bike’s ID number, which is usually printed near the lock or on the frame. If you find a bike that won’t unlock after three attempts, move to the next one; sometimes the internal battery of the lock is dead. If you are at a station and the app says there are bikes available but you don’t see any, they might be ‘hidden’ around a corner or inside a building’s courtyard if the station is on private property. Always trust your eyes over the app in those cases.
If you encounter a problem while riding, such as a flat tire or a broken chain, return the bike to the nearest station immediately. You can report the issue through the app by clicking on the ‘Report Failure’ button and selecting the part of the bike that is broken. This helps the maintenance teams find and fix the bikes faster. If you accidentally lock your bike outside of a station and can’t get it back to one, you will be charged a relocation fee on top of your rental, and the bike stays on your account until staff collect it. If the app freezes and won’t let you end your rental, take a photo of the bike docked in the rack as proof and contact the customer service center. There is an English-speaking line available during business hours, though it can take a few minutes to get through. Most of the time, simply force-closing the app and reopening it will solve the synchronization issue. The system is very robust, and as long as you hear that final ‘beep’ when you lock the bike at a station, you are usually in the clear. Riding a Ttareungi is one of the most ‘local’ experiences you can have in Seoul, and once you get the hang of the app, you will wonder how you ever explored the city without it.
What it costs in Seoul
| Item | Local price | USD |
|---|---|---|
| 1-Hour Ttareungi Pass | ₩1,000 | ($0.75) |
| 2-Hour Ttareungi Pass | ₩2,000 | ($1.50) |
| T-money Card (Empty) | ₩4,000 | ($3.00) |
| Bottle of Water (Convenience Store) | ₩1,000 | ($0.75) |
| Han River Instant Ramen | ₩4,500 | ($3.40) |
| Mid-range Lunch (Jongno area) | ₩12,000 | ($9.00) |
| Total for a Budget Day Out | ₩24,500 | ($18.40) |
Prices checked October 2026. Always confirm with the provider before you book.
Where to stay in Seoul
Budget
Hongdae, for guesthouses near the Gyeongui Line Forest Park
This area is incredibly bike-friendly with a long 'Green Way' path built over old train tracks. You can find clean, social guesthouses for ₩35,000 to ₩60,000 per night.
Mid-range
Jongno 3-ga, for central access to palaces and bike lanes
It is a major hub for both the subway and the new city bike lanes that lead directly to the Han River. Expect to pay between ₩90,000 and ₩150,000 for a modern business hotel.
Splurge
Hannam-dong, for riverside luxury and quiet streets
This hilly neighborhood sits right above the best section of the Han River bike path. High-end boutique hotels here range from ₩300,000 to ₩600,000 and offer great city views.
Mistakes to avoid
- Forgetting to wait for the ‘return confirmed’ beep and notification before walking away from the bike.
- Trying to ride through the middle of Gwangjang Market or Myeongdong during the evening rush.
- Not checking the brakes and tire pressure before scanning the QR code to unlock.
- Thinking a 24-hour pass means you can keep the bike for 24 hours without returning it to a station.
FAQ
Do I need a Korean phone number to use the Seoul Public Bike app?
No, you do not need a local number. Choose the ‘Foreigner’ or ‘Guest’ option in the app, which allows you to register using just an email address and pay with an international credit card.
Can two people rent bikes using one phone?
Yes, the app allows a single account to purchase and activate up to two vouchers at the same time, making it easy for couples to ride together without both needing the app.
What happens if I return the bike to a full station?
You can park the bike next to the others within the designated station area. On newer QR-type bikes, simply locking the rear wheel while the bike is in the station zone will end the rental.
Is it legal to ride a Ttareungi on the sidewalk?
While technically bikes should be on the road or in bike lanes, riding on the sidewalk is common and generally accepted in Seoul as long as you yield to pedestrians and ride slowly.